Use the workspace library
Subscribe to shared sources, fork shared skills, and request that your local definitions be promoted to canonical.
This walks through the day-to-day with the Workspace Library — how to consume it, and how to contribute back.
Subscribe to a canonical source
When you need data that already lives in the workspace library (the master SKU table, the customer roster, an industry benchmark file your DA team curates), don't re-upload — subscribe.
Steps
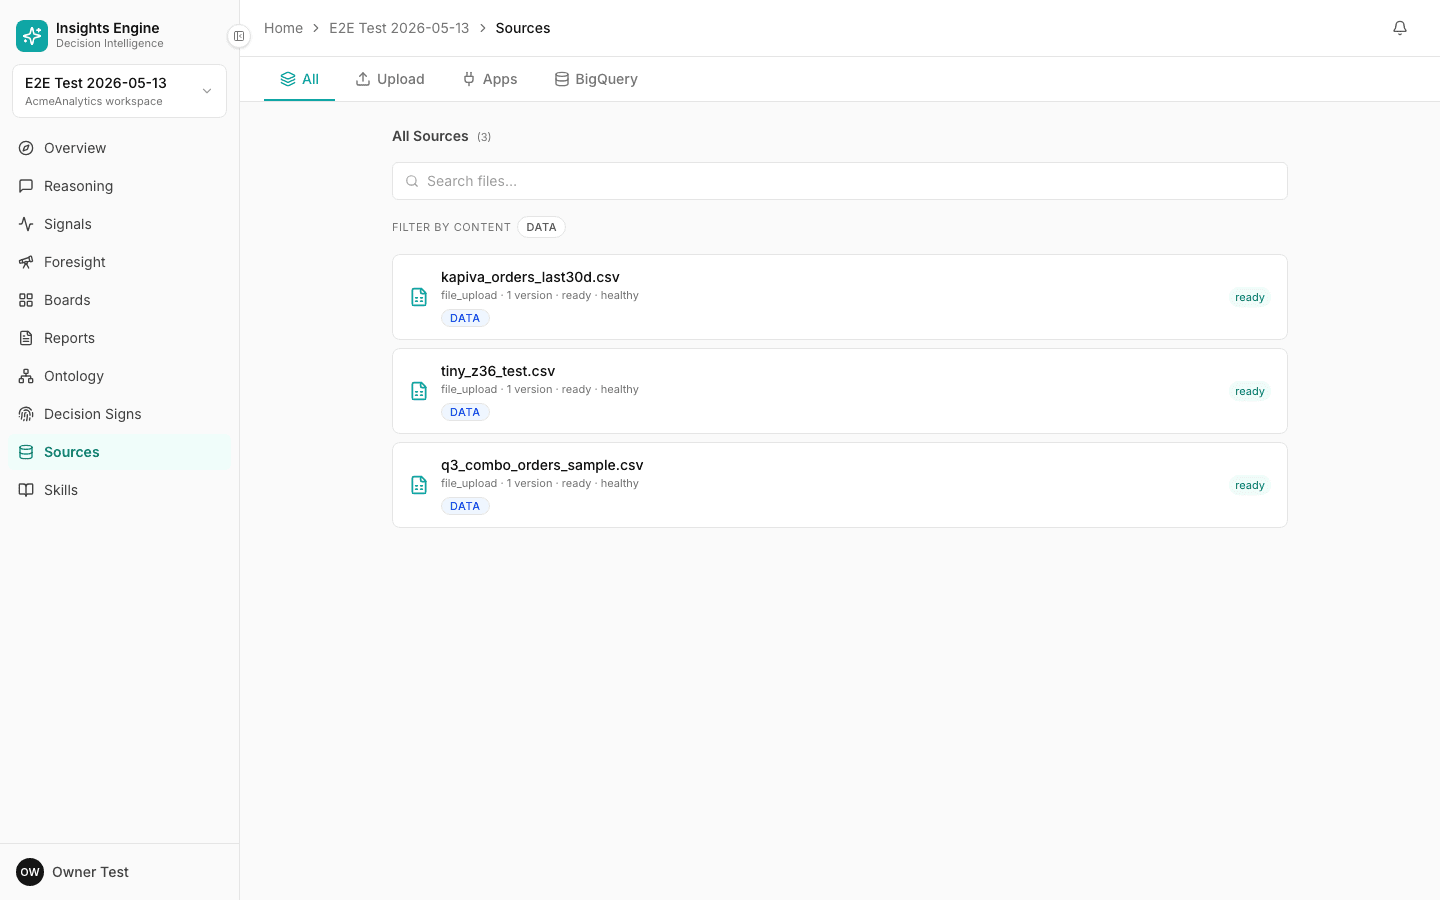
- Open Sources in the sidebar.
- Click Browse workspace catalog.
- A modal lists every canonical source not yet subscribed in your project. For each, you'll see name, description, row count, last update.
- Click Subscribe on the ones you need.
- They appear in your project's Sources list with a "Subscribed" badge.
What "subscribed" means
- Your project can read the source — query against it, cite it, build reasoning on it.
- The source stays in sync — when the DA team updates the canonical copy, your project sees the new version automatically.
- You cannot edit the source from your project. To change it, work with the DA team to update the canonical version.
- You can unsubscribe any time. Subscribing and unsubscribing is reversible and cheap.
When NOT to subscribe — upload instead
- The data is project-specific (a one-off campaign export).
- You need to modify the data before reasoning on it.
- The canonical version is out of date and your DA team isn't going to refresh it soon.
Fork a canonical skill
Seeded skills (the platform's verbs — "RCA on a metric drop", "Cohort retention by signup month") appear in every project automatically. To customise one for your project — change the prompt, swap a tool, tighten the input schema — fork it.
Steps
- Open Skills in the sidebar.
- Find the seeded skill closest to what you want.
- Click Fork.
- The platform creates an editable copy in your project, marked
source = forked, version reset to 1, with a_<random>suffix on the slug so it doesn't clash with the original. - Edit the forked copy freely. The original (seeded) skill is untouched — every other project still sees it as before.
There's no path today to promote a forked skill back to canonical. If your forked skill is a winner that the whole company should use, talk to your DA team — they update seeded skills via the platform's CLI, not the in-app UI.
Request a source promotion to canonical
When you've built or uploaded a source in your project that the whole company should use — the new SKU master, a definitive customer file, an industry benchmark — request promotion.
Steps
- Open the source's detail page.
- Click Ask a Data Analyst to promote this source.
- Write a one-line note explaining why this should be canonical.
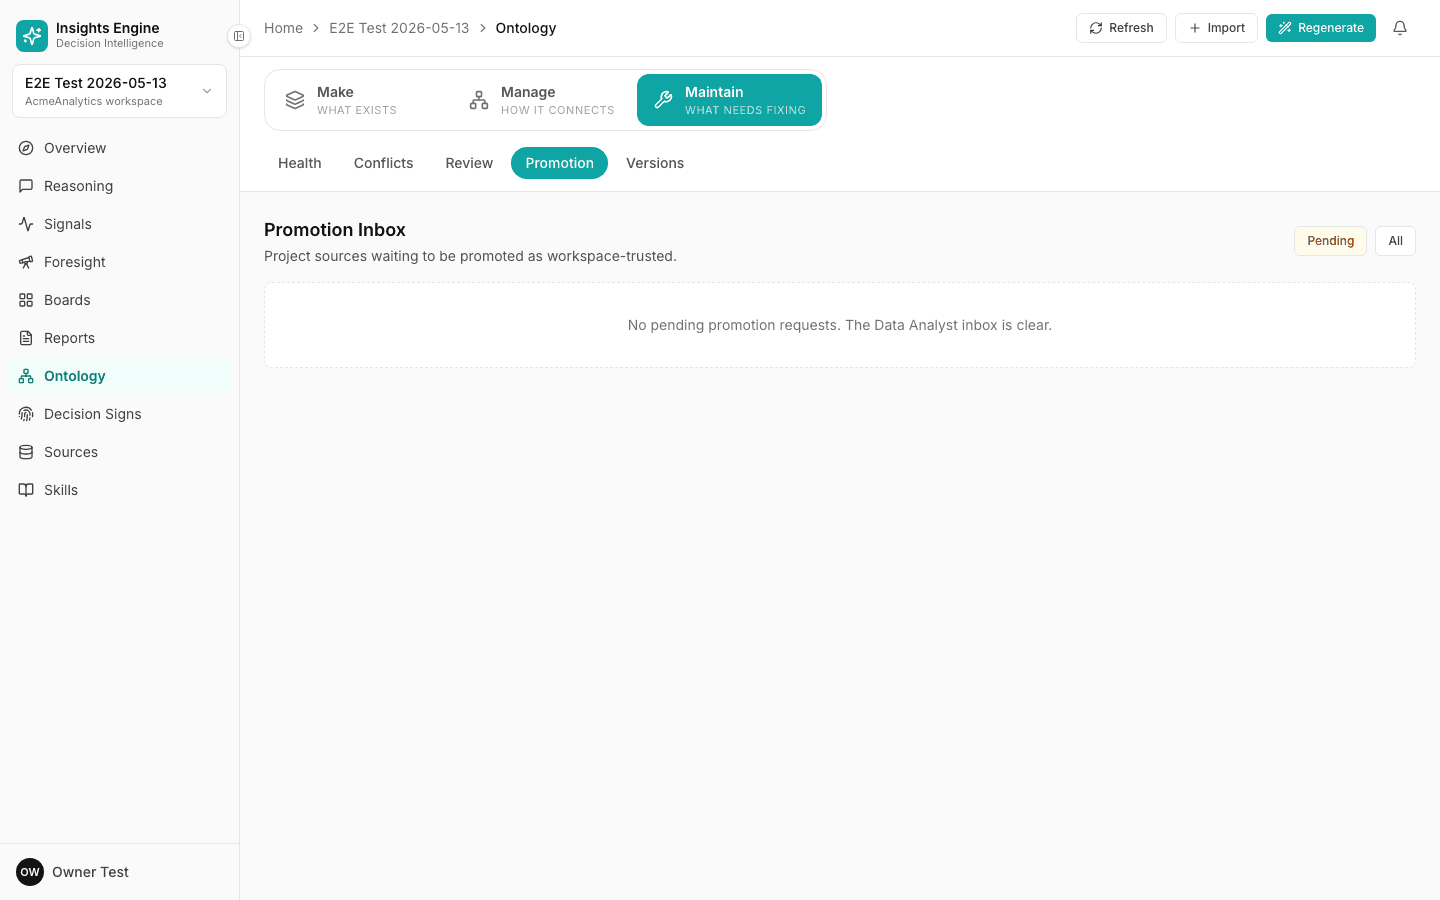
- Submit. The request appears in the DA team's Promotion Inbox.
What happens next
- The DA team reviews on
/ontology/promotion. - They might approve — the source is re-parented to the canonical project, marked
trusted, and your project automatically gets asubscribedrow (so your work doesn't break). - They might reject — you'll see the rejection reason in your source's detail page.
- They might defer — kept in the queue with a note ("need to align with the SKU master first").
What changes after approval
- Every project in the workspace can now subscribe to this source.
- Your project shows the source as
Subscribedinstead ofOwned. - The source's
trust_levelflips totrusted(the reasoning agent cites it freely). - The promotion event is logged in the audit log.
Request an ontology atom promotion
Same flow, but for a metric / concept / convention you've defined in your project.
- Open the atom on your project's Ontology page.
- Click Promote to canonical.
- Add a note explaining how it differs from any existing canonical atom.
- Submit.
The DA team reviews. On approval, the atom moves from your project's local ontology into canonical, and your project starts citing the canonical version instead.
Override a canonical atom in your project
Sometimes you need a definition that disagrees with canonical — typically because your project has a different operational reality.
- Open the canonical atom on your project's Ontology page.
- Click Create override.
- Edit the formula / definition.
- Save.
The override applies only in your project. The canonical version is untouched and continues to drive every other project.
Use overrides sparingly. Two projects citing two different definitions of "Net Revenue" can't easily reconcile their numbers. Prefer "promote to canonical with a parameter" over "override silently in my corner."
The platform tracks drift between your override and the canonical version. If the canonical version changes upstream, you'll see a drift indicator on your override and a notification.
A DA's view — the Promotion Inbox
If you're a Data Analyst (Ontology Admin), open the sidebar and look for Ontology → Promotion.
The inbox shows every pending promotion request — sources, atoms, mutations — with the requester, the project, the note, and the diff. For each:
- Approve — promote to canonical
- Reject — close with a reason
- Defer — keep in the queue with a note
DA approval / rejection events are logged in the audit log so the full history is defensible.
Tips
- Subscribe early, override late. Start by inheriting; only diverge once you've confirmed canonical doesn't fit.
- Promote things that compound. A one-off source isn't worth a promotion request. A source three projects will subscribe to next quarter is.
- Document why you forked. When you fork a skill, leave a one-line note in the description so the next person knows why.
- Talk to your DA team weekly. A few minutes per week prevents months of definition drift later.
Related
- Workspace library — the concept
- Workspaces & members — the DA role
- Permissions — who can write to canonical
- Sources
- Custom skills