Track a decision
From "we made a call" to a logged, defensible decision with hypotheses, actions, and outcomes.
A decision worth making is a decision worth tracking. This is the workflow for capturing one properly so you (or whoever owns the work next year) can defend it.
When to log a decision
- The call has real downstream consequences.
- Someone might second-guess it in a quarter or a year.
- It's a pattern you're going to repeat — e.g. "we always reduce spend on channel X when CAC exceeds Y."
- It's tied to a goal you're tracking.
Don't log every choice. Log the ones that matter.
Step 1 — Start from a reasoning answer
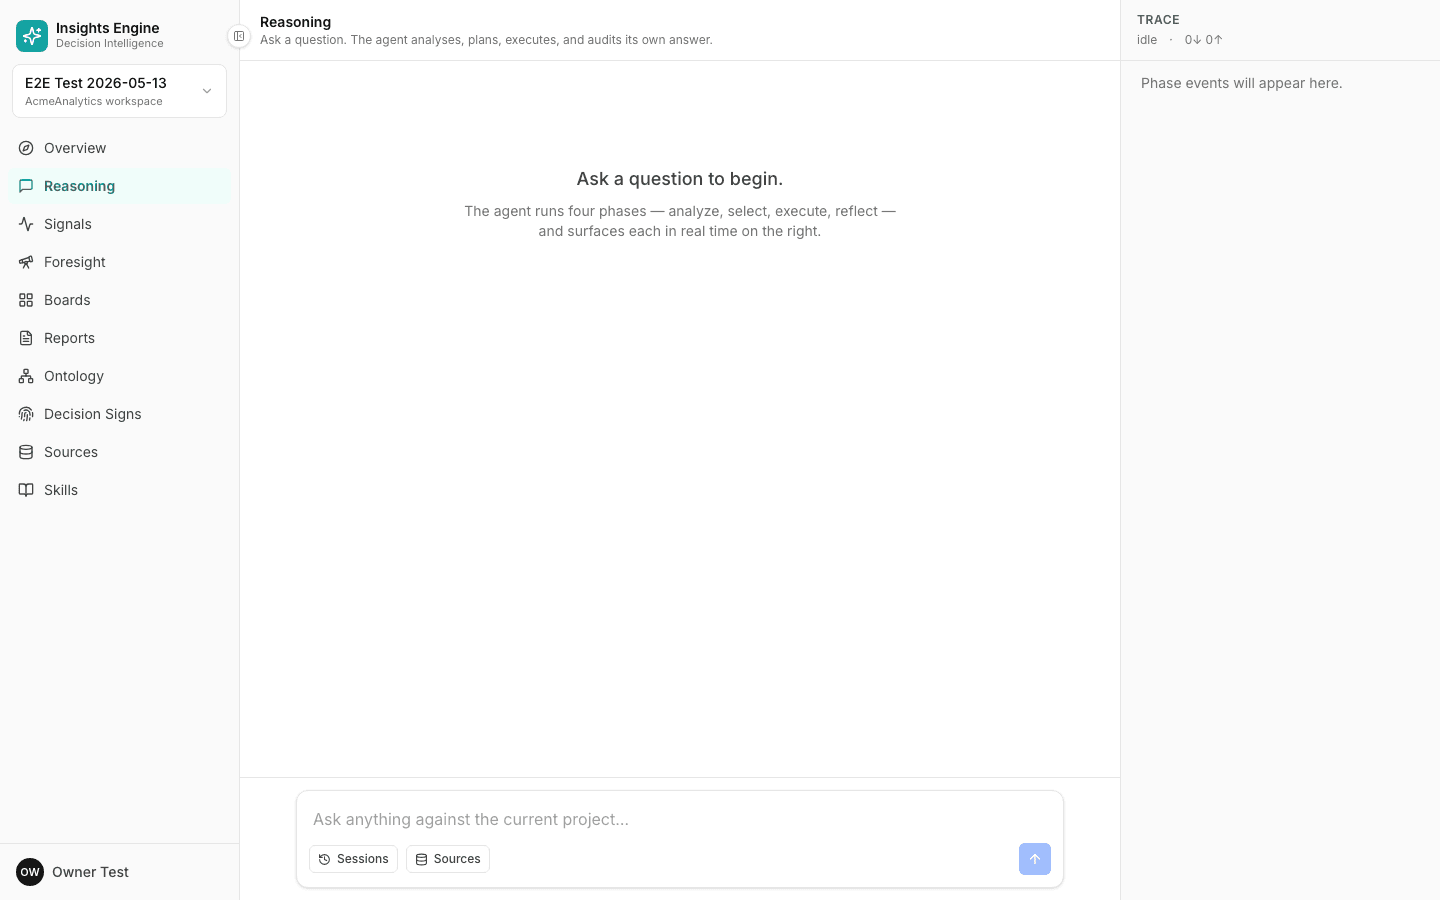
The cleanest path: get an answer to the question that informs the decision, then click Save as decision in the answer toolbar.
This pre-fills:
- The question
- The answer (with citations to source versions)
- The assumptions
- The tool trail
You're not re-typing anything that's already on the answer.
Step 2 — Add the actual decision
The answer told you what's true. You decide what to do. Write the decision in one sentence:
- "We will move 30% of Q3 spend from Channel A to Channel C."
- "We will not raise prices this quarter."
- "We will run a churn-save experiment with 200 at-risk accounts."
Step 3 — Add hypotheses
A decision rests on assumptions about the future. Capture them as hypotheses:
- "Channel C ROAS will hold above 2.5x at 30% higher spend."
- "Price elasticity in our segment is < 0.8."
Each hypothesis can be marked validated, invalidated, or unresolved later. This is the loop that feeds your Decision Sign.
Step 4 — List the tradeoffs
Every decision has costs. Listing them up-front:
- Forces you to be honest about what you're giving up.
- Makes a retrospective fair — "we said we'd lose X for Y; did we?"
- Builds your Tradeoff Awareness trait over time.
Step 5 — Define the actions
Break the decision into concrete actions, each with an owner and a deadline. The platform will track which ones complete.
Step 6 — Set the horizon
Every decision has a time horizon — when will we know whether it worked? Set it explicitly. The horizon feeds your Time Horizon trait.
Step 7 — Link a tracker (optional but recommended)
If there's a metric that tells you whether the decision is working, link a tracker. Choose the role:
- Primary — directly measures the decision's outcome.
- Leading indicator — moves before the outcome does.
- Lagging indicator — moves after the outcome does.
- Guardrail — what shouldn't break while you pursue the outcome.
Step 8 — Save
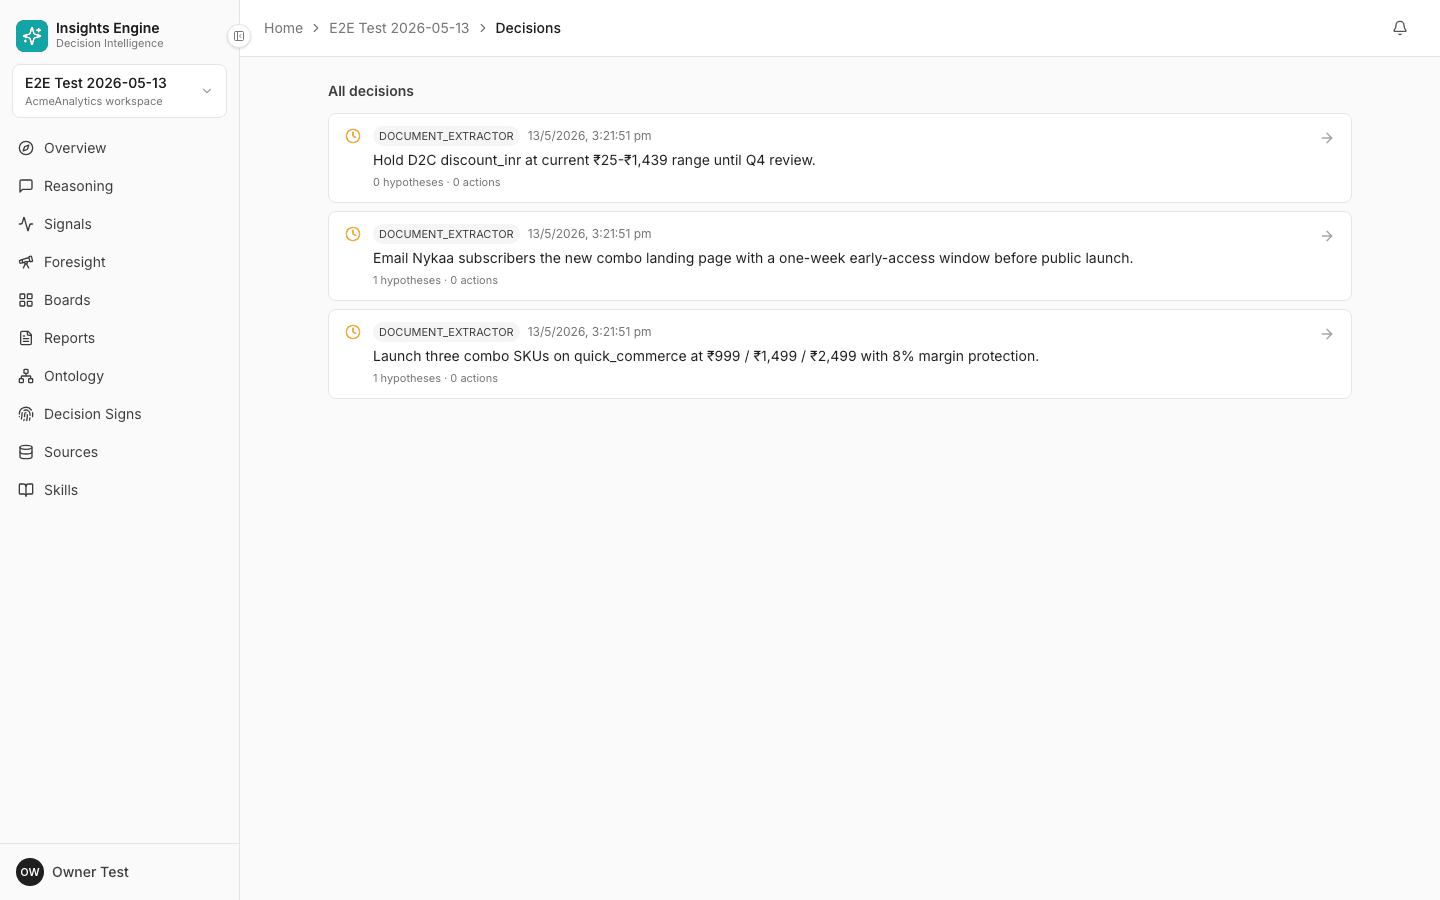
The decision now has a detail page. You can:
- Generate a report to share with stakeholders.
- Re-run the underlying question to see if the answer has changed.
- Mark outcomes as hypotheses resolve.
Why this discipline pays off
- Defensibility. A year later, "why did we do that?" is answered in one screen.
- Pattern recognition. Your Decision Sign becomes meaningful once you have ~20 logged decisions.
- Better next decisions. The platform can surface similar past decisions when you're about to make a new one.
- Hand-off proof. New team members can read the decision log instead of guessing.
What not to do
- Don't log decisions retroactively. It defeats the purpose. Log the decision at the moment you make it.
- Don't skip hypotheses because "it's obvious." It's not, six months from now.
- Don't link a tracker that's already an alert tracker — the goal-linked roles are richer.